Adventures in dyeing yarn.
Originally posted July 9, 2005.
Stuff you will need:
Kool-Aid or Easter egg dye
White vinegar
A big pot or cleared sink for soaking.
A big microwave safe dish for cooking.
Disposable cups for the dye.
Spoons. (I didn’t use a turkey baster or a syringe, but I hear those work wonderfully too.)
Rubber gloves
Garbage bags or plastic to cover your counter top. I’d also recommend layer of newspaper underneath, just in case. I changed garabage bags with each dying project.
Plastic wrap to cover the microwave bowl.
Plenty of hot tap water.
100% wool yarn! I used a cream colored 1 pound skein of Lion’s Brand Fishermen's Wool. I don’t know what other yarns will do in the dye process, this was my first attempt.
Colors I used for the pink swirly yarn:
Kool-Aid: Raspberry (and old packet that was hiding in my cupboard) and a sprinkling of grape over the top before nuking.
Colors I used for the rainbow yarn:
Paas Easter Egg Dye: Blue
Kool-Aid: Cherry, Orange, Lemonade, Lime, Grape, and Pink Lemonade.
There are supposedly a rather impressive array of Kool-Aid flavors out there, but if that is so, they aren’t in my town! I didn’t have the patience to run all over last night looking for blue colored Kool-Aid powder so I used my blue egg dye tablet instead. If any of you find any new colors (with the exception of the clear ones because, erm…) I will pay you for them if you would be so kind to contact me so we can discuss. I’m looking for a color called Pina Pineapple that, mixed with Grape is supposed to yield a rainbow effect with just those two products. Fascinating!
Before we begin, you must say hello to Jacob, he was present for much of this project.
My Mommy dressed me in this orange ensemble. I have no say in this matter; Mommy is hopelessly stuck in the neon era of the 80’s.
Thank you, Jacob.
O.k., here we go.
First, you must unwind your yarn from its skein state and make it look like this:
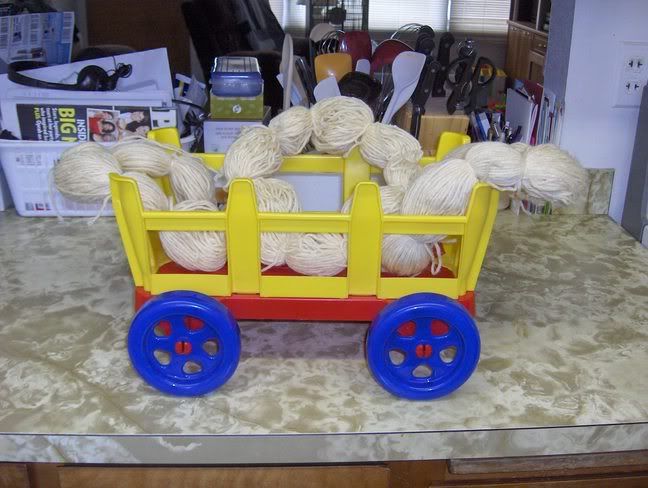
I don’t have a kniddy knoddy. And, since I didn’t have the time or patience this weekend to go make one, I stomped around the house looking for an alternative that would suffice for this project. I only had to trip over that little wagon like, 8 times before I was struck with inspiration. I also tied the sections of yarn together with small pieces of the same yarn.
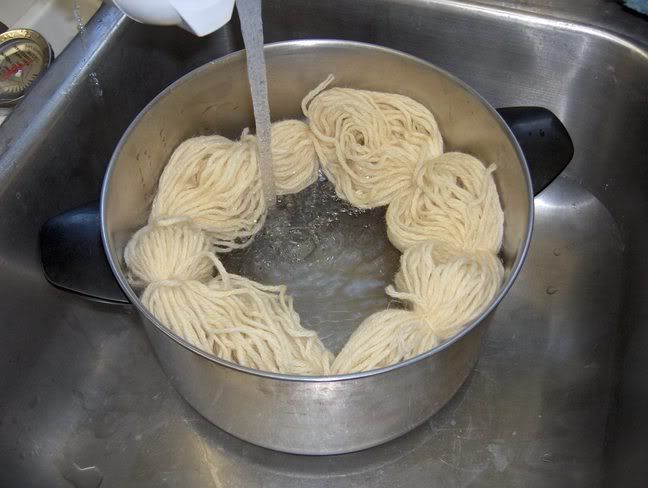
Second, you must soak the yarn in hot water. The hottest water from the tap worked for me and I soaked each skein for about 25-30 minutes. I’d also like to add here that soaking wool is rather sheepy-fleecy smelling. Not overly unpleasant, but barnyardish nonetheless if you aren’t acclimated to such things. I also added a couple glugs of white vinegar to the hot water soak. Not sure if this is completely necessary but I’d read it can go either way.
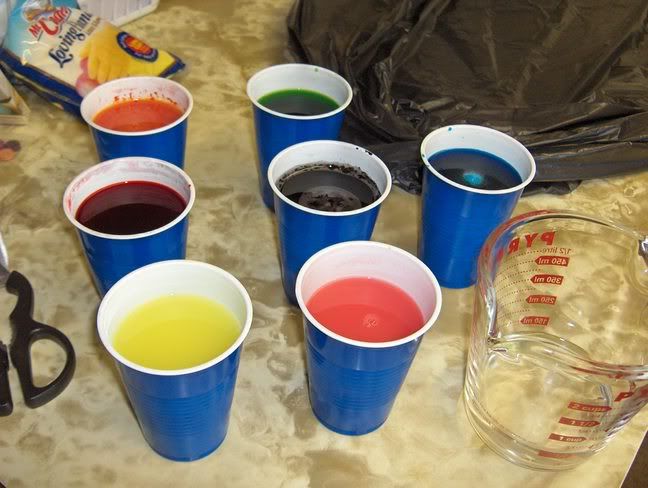
While your yarn is soaking, mix up your Kool-Aid and egg dye. I used two packages of Kool-Aid for each color with ¾ cup water and two tablespoons of white vinegar. Stir well. Use the same water and vinegar measurements for the egg dye, maybe a little less if you want darker colors. I wasn’t disappointed with any of my colors with the exception of yellow. I only had one package of lemonade left after I unsuccessfully tried to mix a package of lemon with lime to make blue. Doesn’t work, don’t waste your time unless you want a dye the color of radioactive urine.
I was starting to feel like a bit of a mad scientist throughout this process, I’d like to add. But I was having fun! Too many fruity fumes methinks. I kept humming that song from Harry Potter and the Prince of Azkaban in my head the whole time “Double, double, toil and trouble. Fire burn and cauldron bubble…”
Yes, I have issues. Big ones.
O.k. paint the yarn. Or in my case, make a little dent in the middle of the area where you want the color to go, spoon in some dye and then squish it around with the back of the spoon. Yes, the colors are going to run together some or in the case of my first skein, a lot. I wasn’t overly bothered by this, as I figure when the yarn is actually made into something it won’t matter.
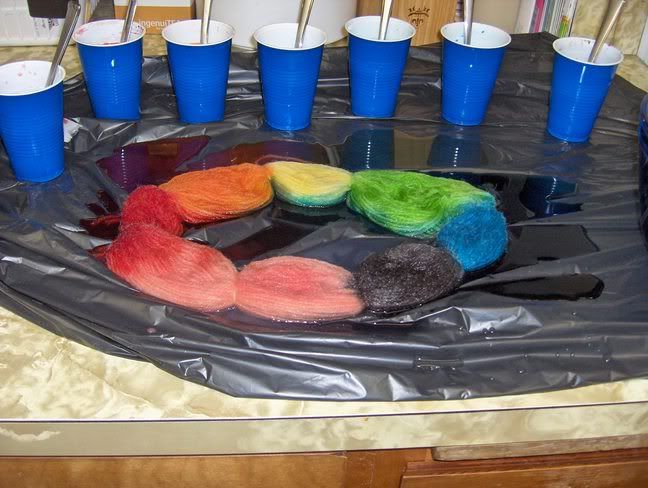
After you’ve squished and painted to your hearts content, pick up the yarn (SERIOUSLY, use rubber gloves. Just do it and don’t ask any questions.) and put it in a big bowl that will fit in the microwave.
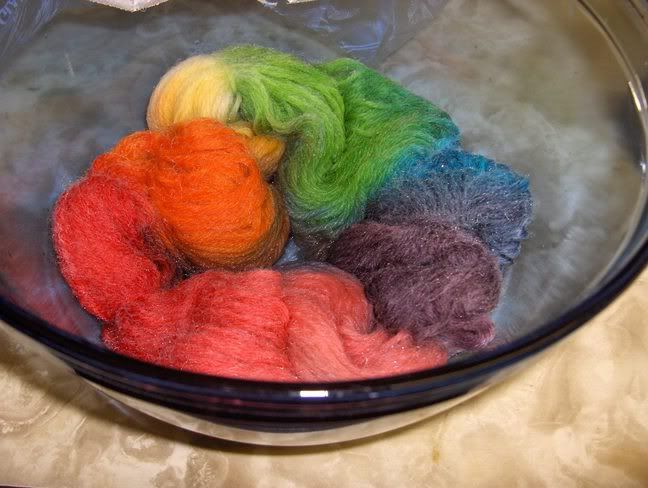
Cover with plastic wrap, poke a couple holes in it and nuke the entire works for five minutes. Then let it sit for five minutes. No need to peeksie at it, just relax and go wander around the house or something. (Better yet, go start the soak process on another skein of yarn.) Then nuke it for another five and another five of rest. Now you may look. Is the water left in the bowl clear or milky? Then hooray! You have successfully dyed your wool! If not, do one more five minute nuke and five minute rest sequence. I only had to do it three times for one skein that was a bit thicker than the others.
Remove it carefully (It’ll be burning hot so use tongs and not the quick pick up and throw in the direction of the sink motion like I did the first time) and then give it a rinse bath with warm water. Not too hot, not too cold.
Again, I don’t think you can do much damage really at this point. I learned right away that this was not an activity to be afraid of or get uptight over. This is supposed to be fun! Have fun dammit!
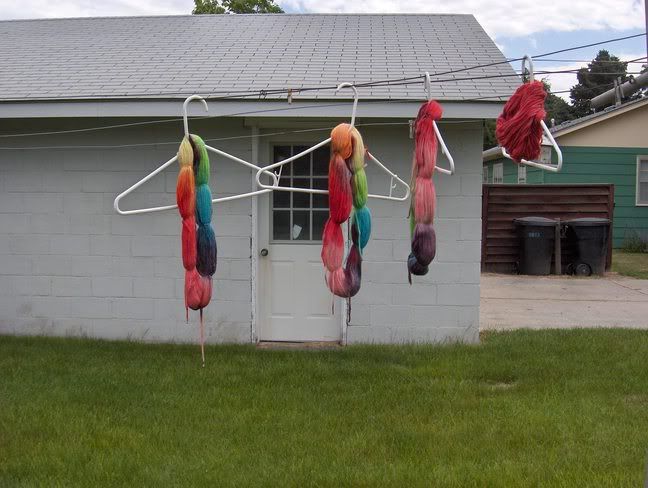
Finally, hang it up to dry. Make sure you give all the birds in the area many dirty looks if you put it outside. Threaten much harm to any birds that may be thinking about pooping on your yarn. Those damn birds.
Give the birds one final glare before you go back into the house and start over.
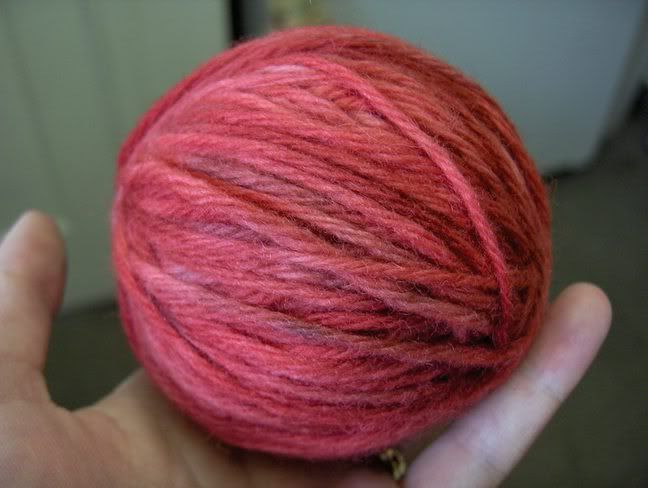
This whole process took me about two hours from start to finish, not counting dry time. I had started the pink yarn the night before and it was still damp in the morning when I took it outside to hang on the line. Also, I actually didn’t paint the pinky swirl yarn. Rather, I put the soaked yarn in the bowl, but the raspberry dye over the top, squished it around for a few minutes and then sprinkled the grape powder over the top before putting it in the microwave.
A few other things:
Some of the yarn may not dye all the way through if you aren’t diligent with your squishing. Again, variation is all part of it so if it doesn’t bother you, worry not. Me, I like variation and a riot of colors so I’m amused in all areas.
Yes, the yarn will retain the scent of a jungle juice Kool-Aid bomb, but it fades. I had initially put the pink swirl yarn up to hang in the shower overnight and when I checked it in the morning the scent was still very strong. Once it hung outside though it faded dramatically and now just smells like wool again.
After about 2 hours of hang drying, I clipped off all but two of the pieces of yarn separating the sections to allow for faster drying time.
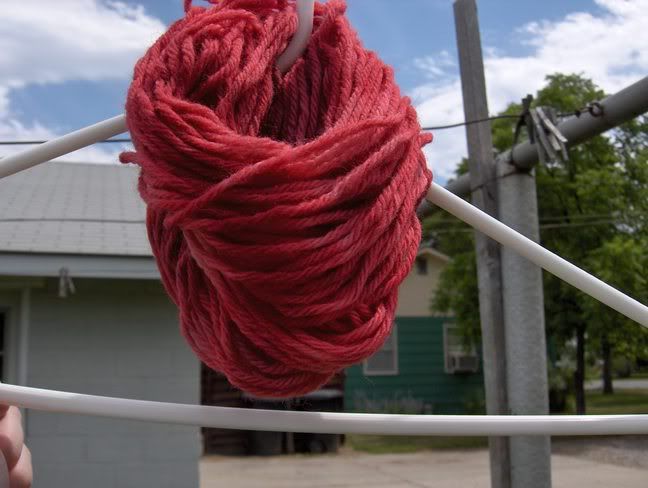
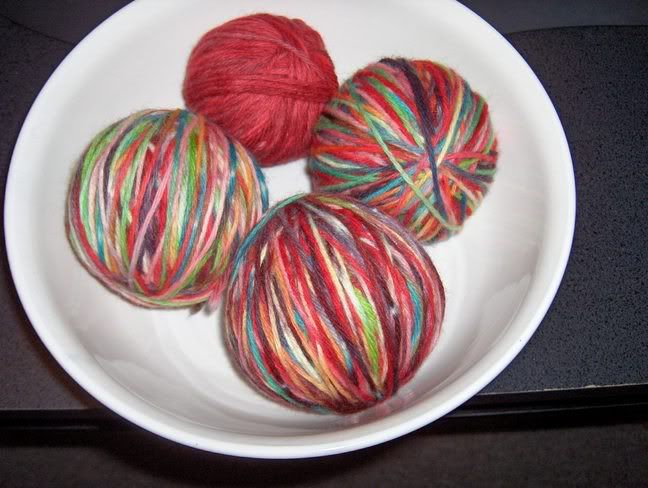
The finished products!
The pink swirl yarn is such a smallish looking bit of yarn because I was afraid to go all out and start painting the yarn right away. Now I wish I’d done more, because I really love the color! See? Don’t fear the yarn dyeing process, have fun with it! Oh well, another day, another big bunch of yarn to dye!
Skeins one, two and three before winding:
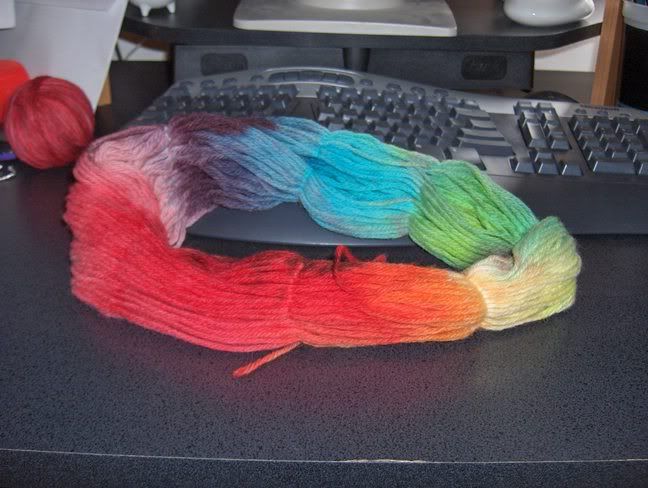
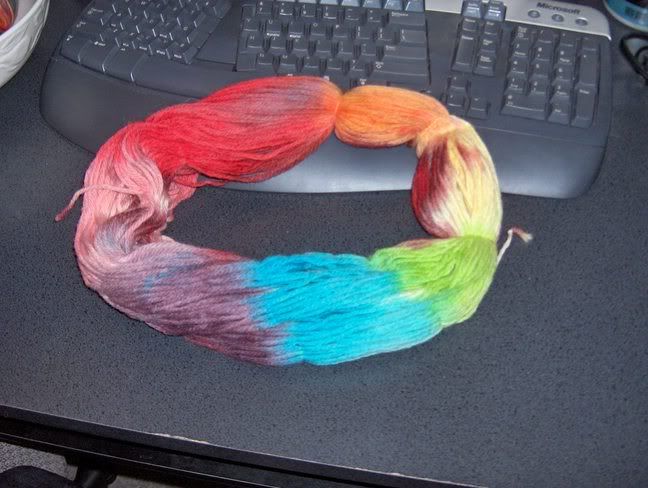
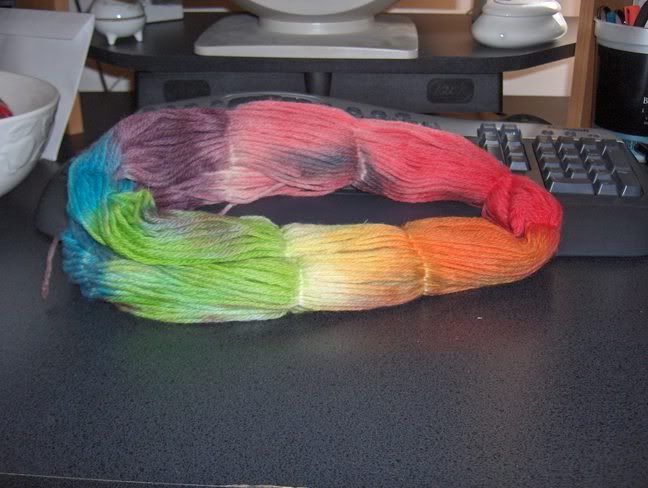
Clockwise from pink skein is skein one, skein two and skein three.
posted by Joy @ 3:18 PM
0 comments
![]()
![]()

0 Comments:
Post a Comment
<< Home